Prepare your PSD for HTML
Generally, designers need to do a lot of experimentation and changes in their design file before they come up with a final design that satisfy the client and project requirements. Unfortunately, many designers (or UI engineers) do not do the cleanup of their final design file.
As a professional, it is very important to do that extra bit of cleaning up and organizing the design file, and it hardly takes 10-15 minutes. This cleaning saves a lot of time for developer or programmer who is working on that design. Other benefits are – clarity in communication and reduced iterations in emails/discussions.
Since different designers can have their own ways to organize their PSD files, we have tried to cover some common points here, as common practices for all such professionals.
- Backup: Once your design is finalized and you are ready to prepare your PSD file for production, we recommend that you make a copy of your PSD file, It keeps the original design file intact if something goes wrong, or when you rasterize some layers for developer. You can add a suffix like “_prod” to differentiate the file you are preparing for production.
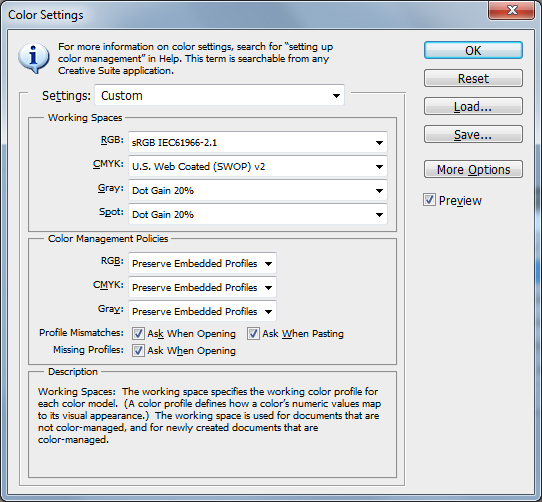
- Color Profile: We recommend that you use sRGB as color profile
of your PSD file. You can read more about using sRGB on blog of Erik van Nieuwburg or Wikipedia.
- Guide Lines: Use guide lines only to describe the main structure of page, and remove all extra guide lines. Developers usually need to add guide lines that help them in slicing of images.
- Color Palette: Create a new layer group at the top of other layers containing layers filled with different colors used in the design. Developers can use this palette for quick reference.

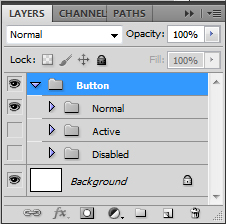
- Hover states and other interactions: Usually, you have some links, navigations, or other such elements that have some hover state. There can also be other elements like multilevel navigation, carousels, custom form elements, etc. You should create separate layers showing these interactions, and group the related layers. It helps developer to easily find all the states of a design element that one need to code.


- Merge layers: Sometime you need to use multiple layers to create effects, such as background effects. Do not forget to merge the layers to a single layer thus eliminating the risk of any accidental slicing of wrong/internal layer. And you can always get back to “backup” for component layers, if required.
- Name all layers: Use an appropriate and relevant naming convention for layers. If required, use layer groups for easy reference. It is good to have names that reflect the objective of layers or groups. The goal is again, clarity in communication and fewer iterations for points that really do not need emails or discussions among designers and programmers.
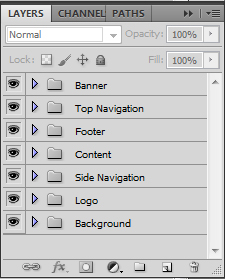
- Use Layer groups: Use layer groups for related elements or components. Groups helps you package information together which is easy to organize and understand by the development team. You can group layers for the UI controls such as for ‘Buttons’ or ‘Icons’, or for page elements such as ‘Header’, ‘Left Navigation’, and so on.

- Non system fonts:AMPsoft has created a list of web safe fonts, which can be used for the reference of fonts supported by both Mac and Windows operating systems. For all other fonts, you should clearly mention how you want these fonts to be handled in your code. Either you can opt to use images or one of the many font replacement techniques available these days. You should also provide related font files to the developer, if required.
- Other instructions:
When the design file is ready, ensure that the basic details or instructions are communicated well. Either, write it in the email itself or an additional note when you upload it on server, or schedule a quick meeting if you can meet the programmer personally. Hand over the file and some documented instructions/conventions/guidelines; it really helps. Cheers!


Great article!
Now I understand what CodeMyConcept did in order to develop my website.
Thanks a lot!